Lab 1 - Remote Access
Table of Contents
- Installing VSCode
- Remotely Connecting
- Trying Some Basic Commands
- Moving Files with SCP
- Setting an SSH Key
- Optimizing Remote Running
1. Installing VSCode
VSCode can be installed via this link. VSCode is a text editor that has powerful features, such as realtime Markdown rendering. On the VSCode site, click the download button to download the compressed file (.zip).

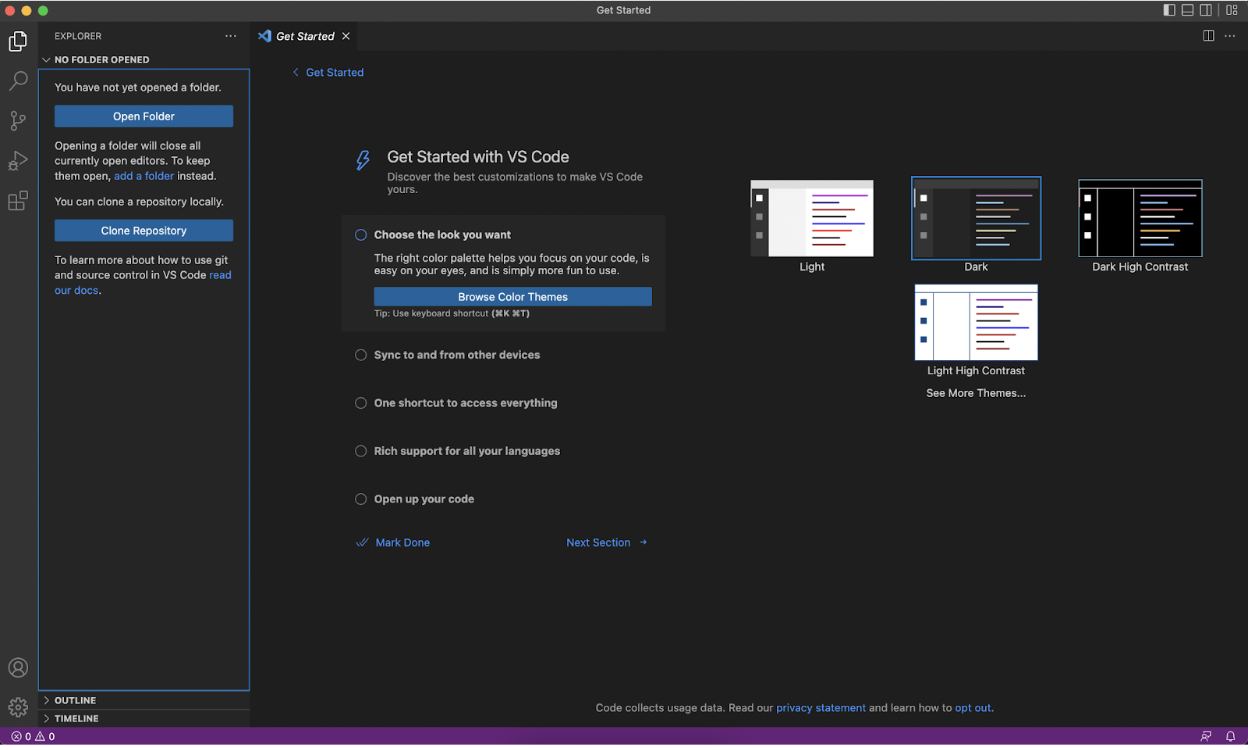
After it finishes downloading, open the .zip file to finish the download of VSCode. VSCode should now be fully operational. You should see a screen prompting you to set up VSCode as follows:
2. Remotely Connecting
In order to remotely connect to a computer, open the terminal on VSCode. Alternatively, you can use your computer’s stock Terminal application. You will have to obtain your login credentials at the following site. After obtaining your login credentials, you will be able to log in with the following command: ssh username@server. ssh is a command that stands for Secure Shell. For the purposes of CSE15L, your command will look something like: ssh cs15lfa22zz@ieng6.ucsd.edu where zz is replaced by some other sequence of characters.
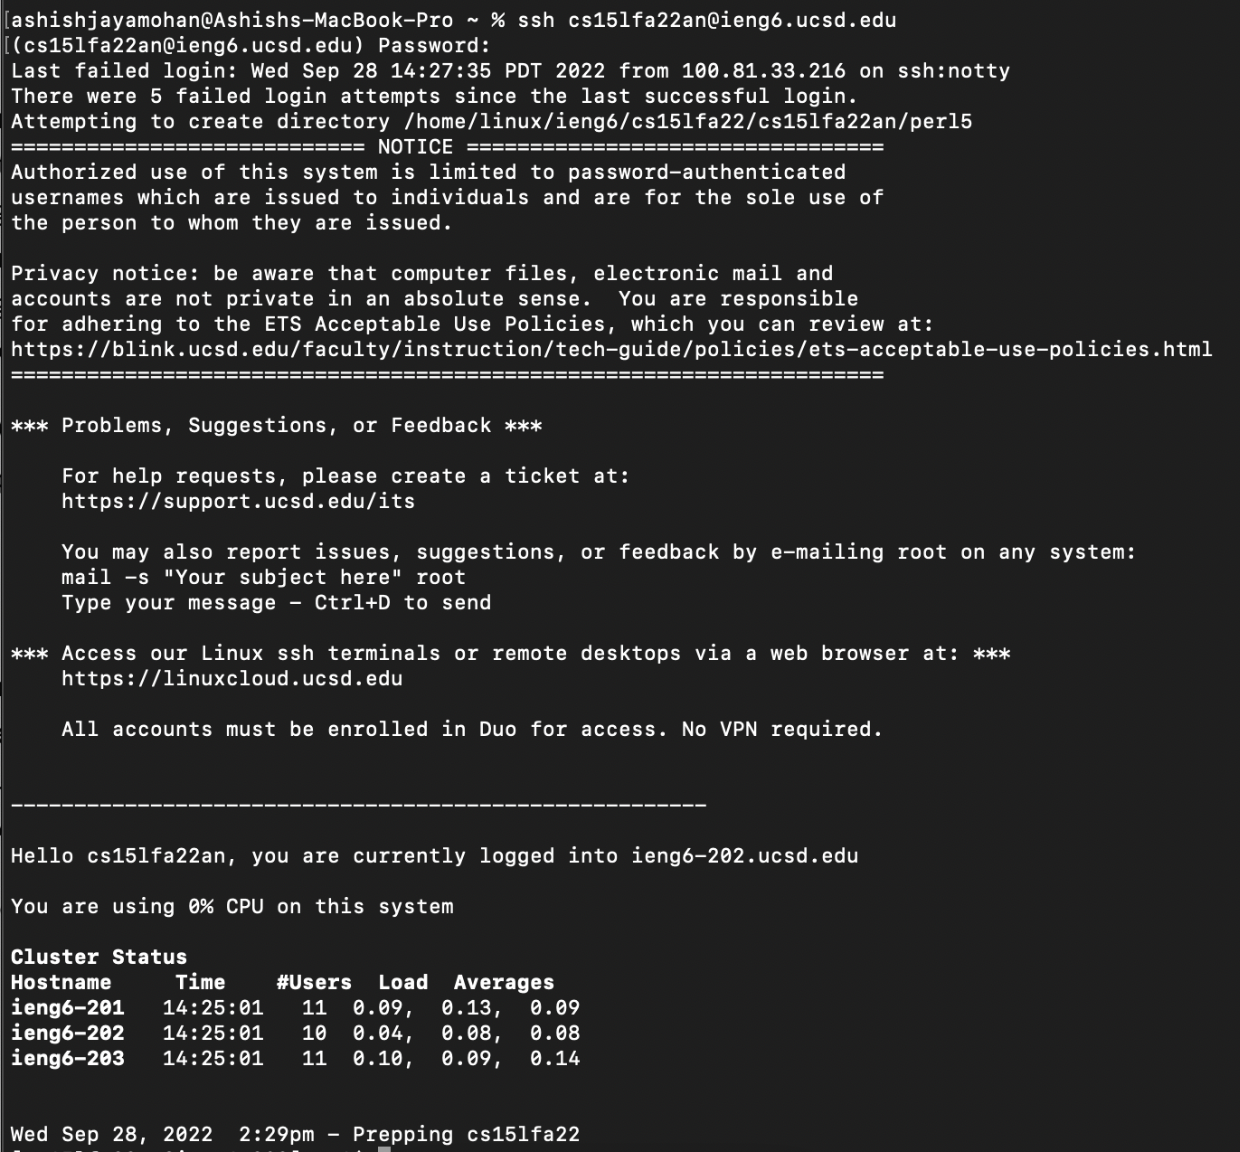
After entering this command, you will be prompted to enter a password - this is the password you obtained earlier. Note that when you type in your password, no characters will be displayed (no asterisks marking how many characters you’ve typed either). After successfully entering your password, you will see the above screen. The remote login is successful and will now allow you to utilize the remote computer’s resources.
In order to exit the remote login session, simply enter exit into the terminal and you will be logged out of the remote computer.
3. Trying Some Basic Commands
Once you are connected to the remote computer, you can begin testing out some basic commands to test out the new environment. Some basic commands you can test out are listed below.
ls -lacat <file-name>cd <directory-name>cp <file-name> <target-location>rm <file-name>mkdir <new-directory-name>rm -R <directory-name>
Below is an example of some basic commands run on the remote machine. Note that your remote machine configuration may slightly differ from the one shown in this example.

4. Moving Files With scp
scp is a terminal command that stands for “Secure Copy.” scp works very similarly to ssh and the command looks similar as well. A sample scp command would be as follows: scp <file-name> username@server:<server-target-directory>.
Let’s say, for example, that we were to create a local file WhereAmI.java that we wanted to copy into our remote desktop. After creating the local file, we could use the following sequence to copy the file into our remote computer. (Note that this function will also prompt you to enter a password. There will be no indication of you typing in a password.) We could use the following function to copy WhereAmI.java to the CSE computers: scp WhereAmI.java cs15lfa22zz@ieng6.ucsd.edu:~/ where zz is replaced by your own unique login character sequence.
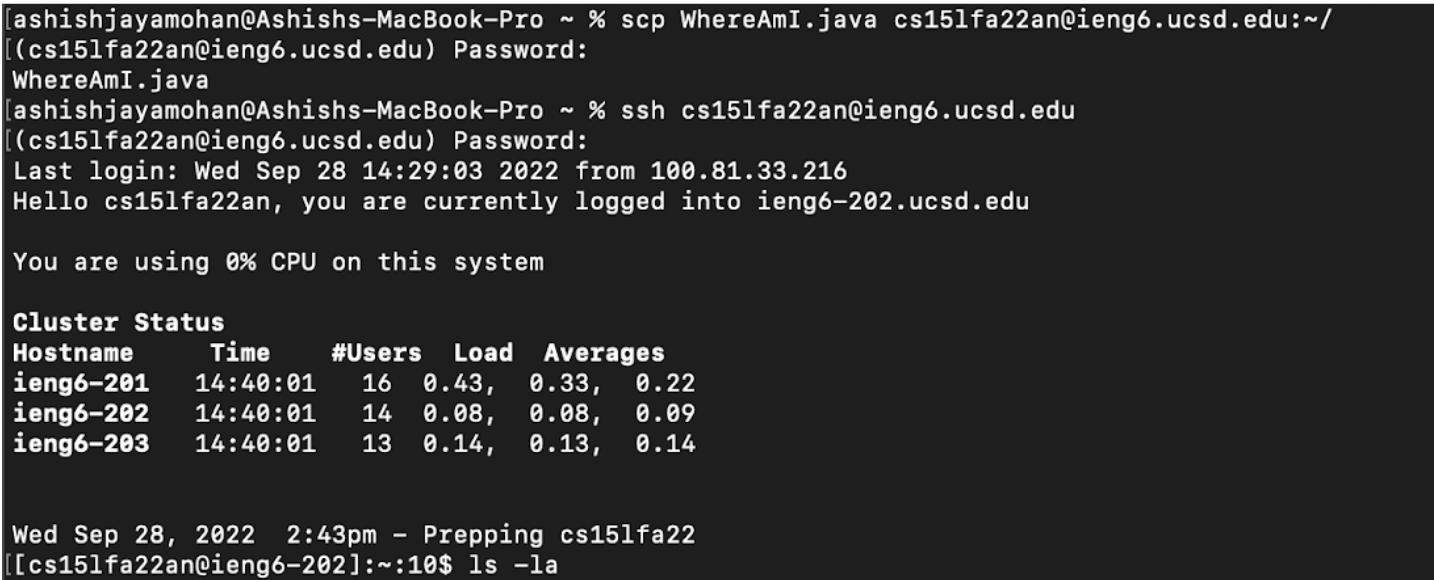
As seen in the example above, the local file WhereAmI.java was successfully copied over to the remote computer. We can now run WhereAmI.java using javac and java, as shown below:

5. Setting an SSH Key
Setting an SSH key is incredibly useful for long-term usage of remote computers. SSH keys essentially allow you to login to your remote computer in a secure way, without having to enter your password each time you want to connect! In order to create an SSH key, simply enter ssh-keygen in your terminal on your local computer. The command will prompt you to enter a file location. If you press ENTER without entering a specific location, the program will automatically allocate a location for the .ssh directory. The command will also prompt you to enter a passphrase (don’t enter anything here, either). After all this, the command prompt will identify the location to the public key it just generated. Take note of these locations!
We need to copy the public key that was just generated into our remote computer. We first need to create a .ssh directory on our remote computer. We have to login again using ssh as specified above. After logging in, we use the mkdir command to create a directory named .ssh. The command is as follows: mkdir .ssh. After this, we can enter exit into our remote terminal to return back to our local machine’s terminal.
After returning to your local machine’s terminal, we need to use scp to copy our public key from our local machine onto the remote machine. We use the following command: scp <public-key-location> cs15lfa22zz@ieng6.ucsd.edu:~/.ssh/authorized_keys>
After doing this, the public key should be copied over to the remote machine and you should be able to login without having to enter your password! The process should look like below:
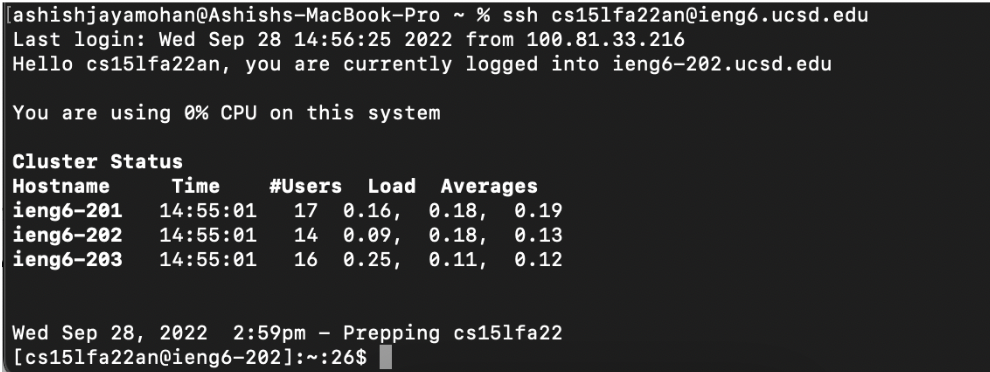
Note that there is no prompt to enter a password, as there was in previous attempts.
6. Optimizing Remote Running
There are a few ways to make running commands on the remote machine even more convenient. For example, we can use in-line commands to run commands that seem too frivolous to open up the entirety of the remote login prompt for. A sample command would be as such ssh cs15lfa22zz@ieng6.ucsd.edu "ls -la". Note that the command to be run needs to be put in quotes at the end of the statement.
Additionally, we can also use semicolons to “stack” commands. For example, if we wanted to touch a new file and then cat said file, we could use the following one-liner: touch newFile.txt; cat newFile.txt
We can also combine the two above techniques to create stacked commands in the remote computer. For example, if we were to do the same creation and reading of a file in the remote computer, we could do something as such: ssh cs15lfa22zz@ieng6.ucsd.edu "touch newFile.txt; cat newFile.txt"
You can also use the up arrow to access previously run commands in order to run them again.